
Overall rating: 4 out of 5 stars

Click here for more technical details on this case.
When I started researching and building my first pc back in 2016, tempered glass side panels and rgb lighting integration within the pc case were features reserved for more premium product ranges of case manufacturers (I couldn’t afford them).
But as manufacturing cost go down and the increasing popularity of new features become mainstream, so does the need for case manufacturers to adopt them in more affordable, budget friendly pc cases that you would actually buy. For this month’s case review we have the Kamikaze Pro micro-atx pc case that GameMax sent over for me to review.
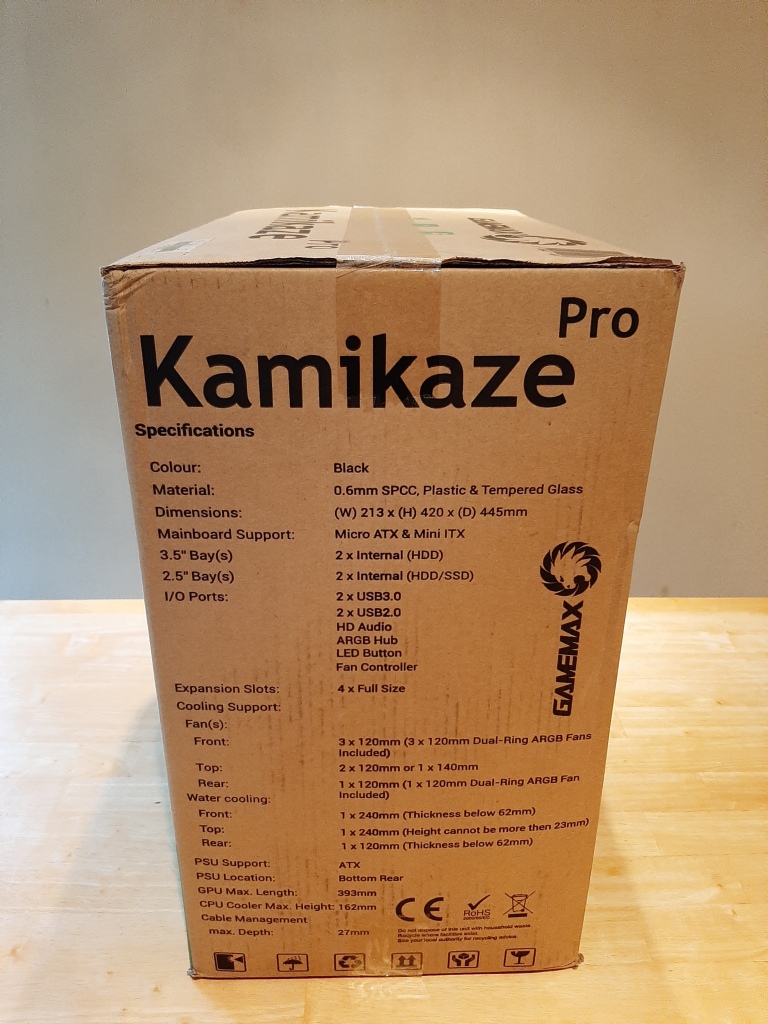


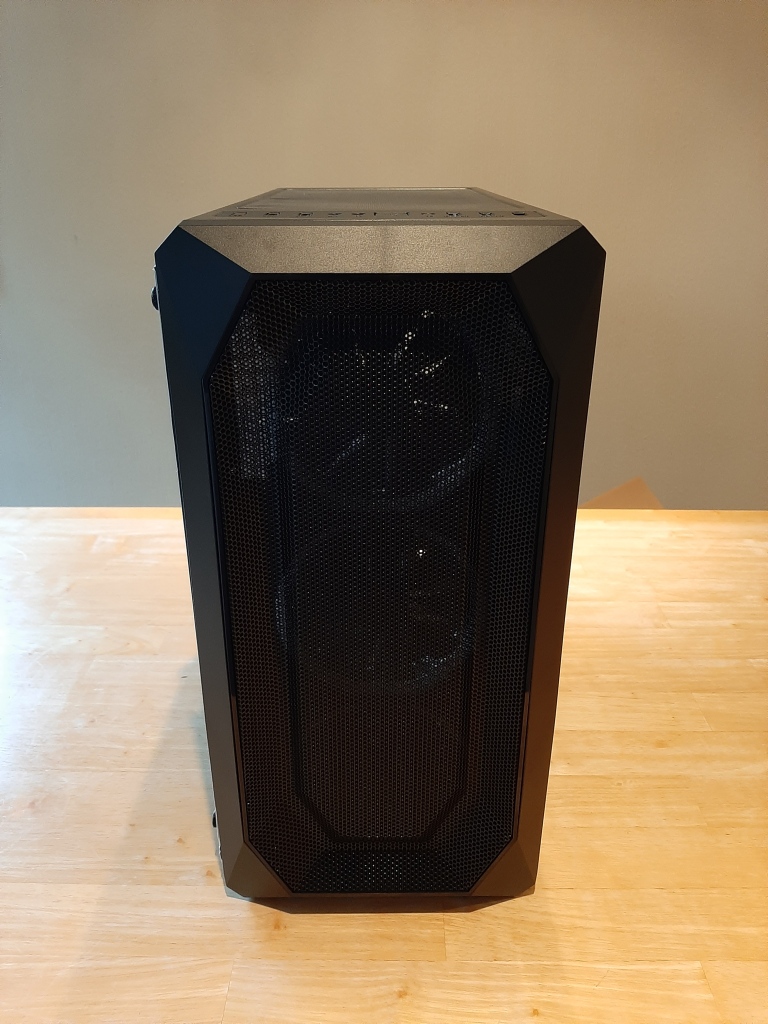

Let’s start with the features that stood out to me. It has a slightly tinted tempered glass side panel, four 120mm addressable rgb fans, a fan and led control hub integrated within the case, magnetic dust filter and IO ports at the top of the case with a fan speed controller and led button as well as a PSU shroud with two 2.5 inch drive caddies above it.
The hub can control the fans with the fan switch up top (middle is off, top is slow speed and bottom is full speed) and the leds with a button to change through different led cycles. You can also control the led through your motherboard provided that it has a 3 pin rgb header.

Reusable pcie covers 

2.5 inch drive caddies on the psu shroud 
Led button 
IO ports up top 
Fan switch 
Led and fan control hub 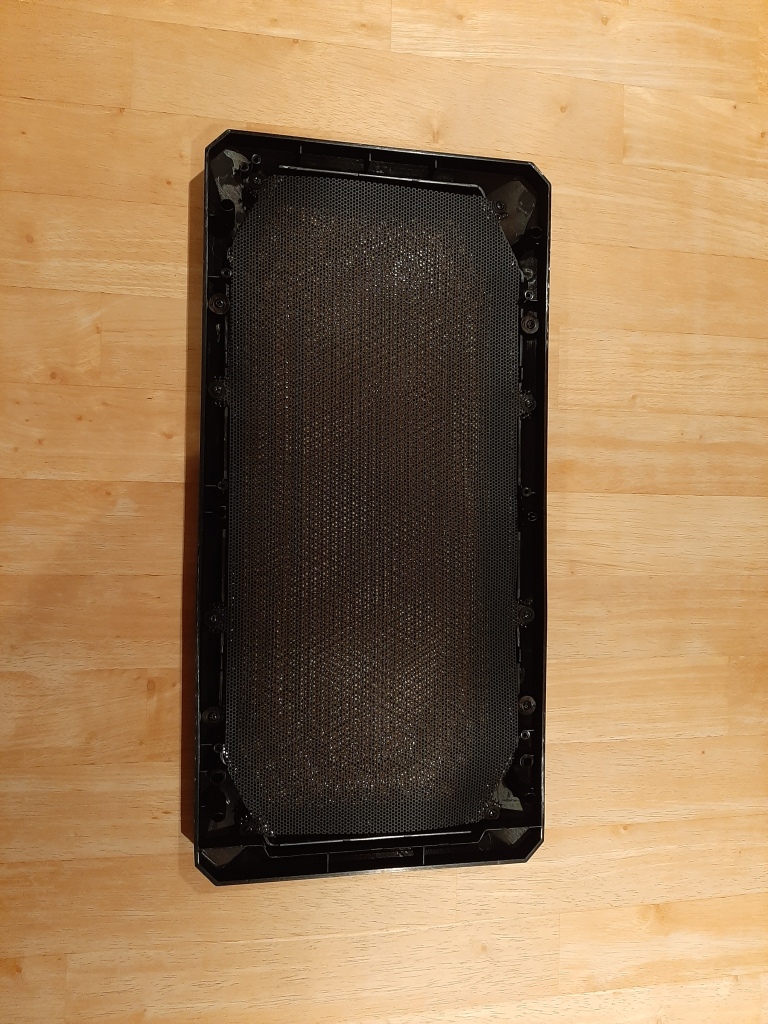
The front grill has an additional dust filter 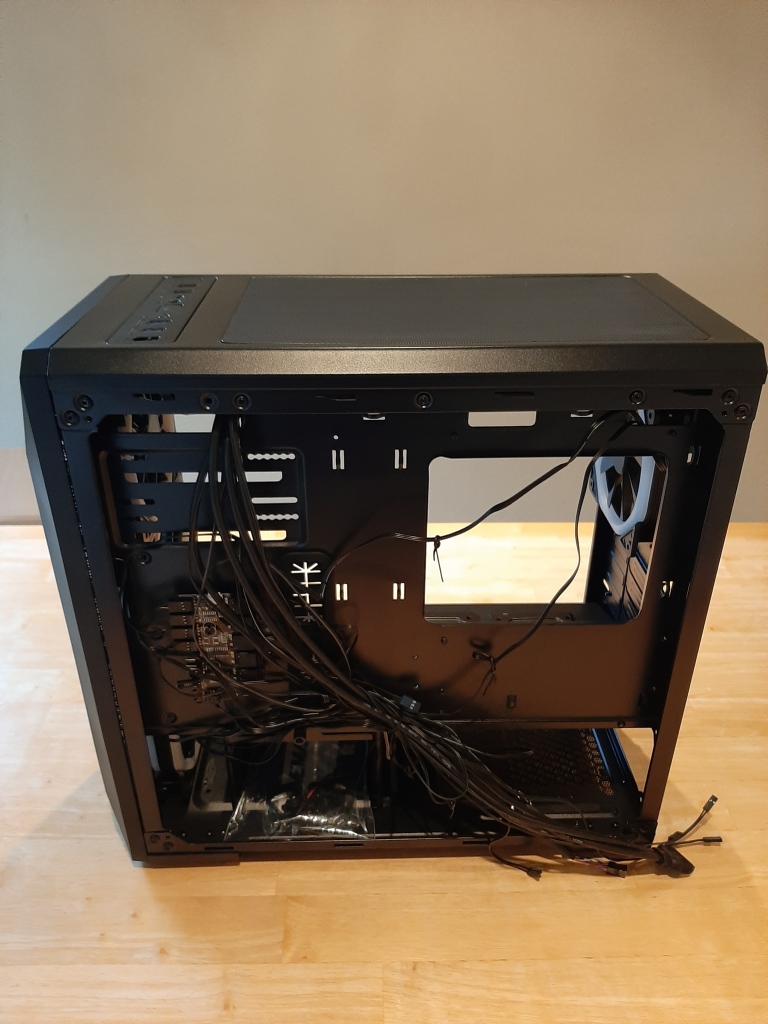

The case comes with 4 argb fans, 3 at the front and 1 at the back
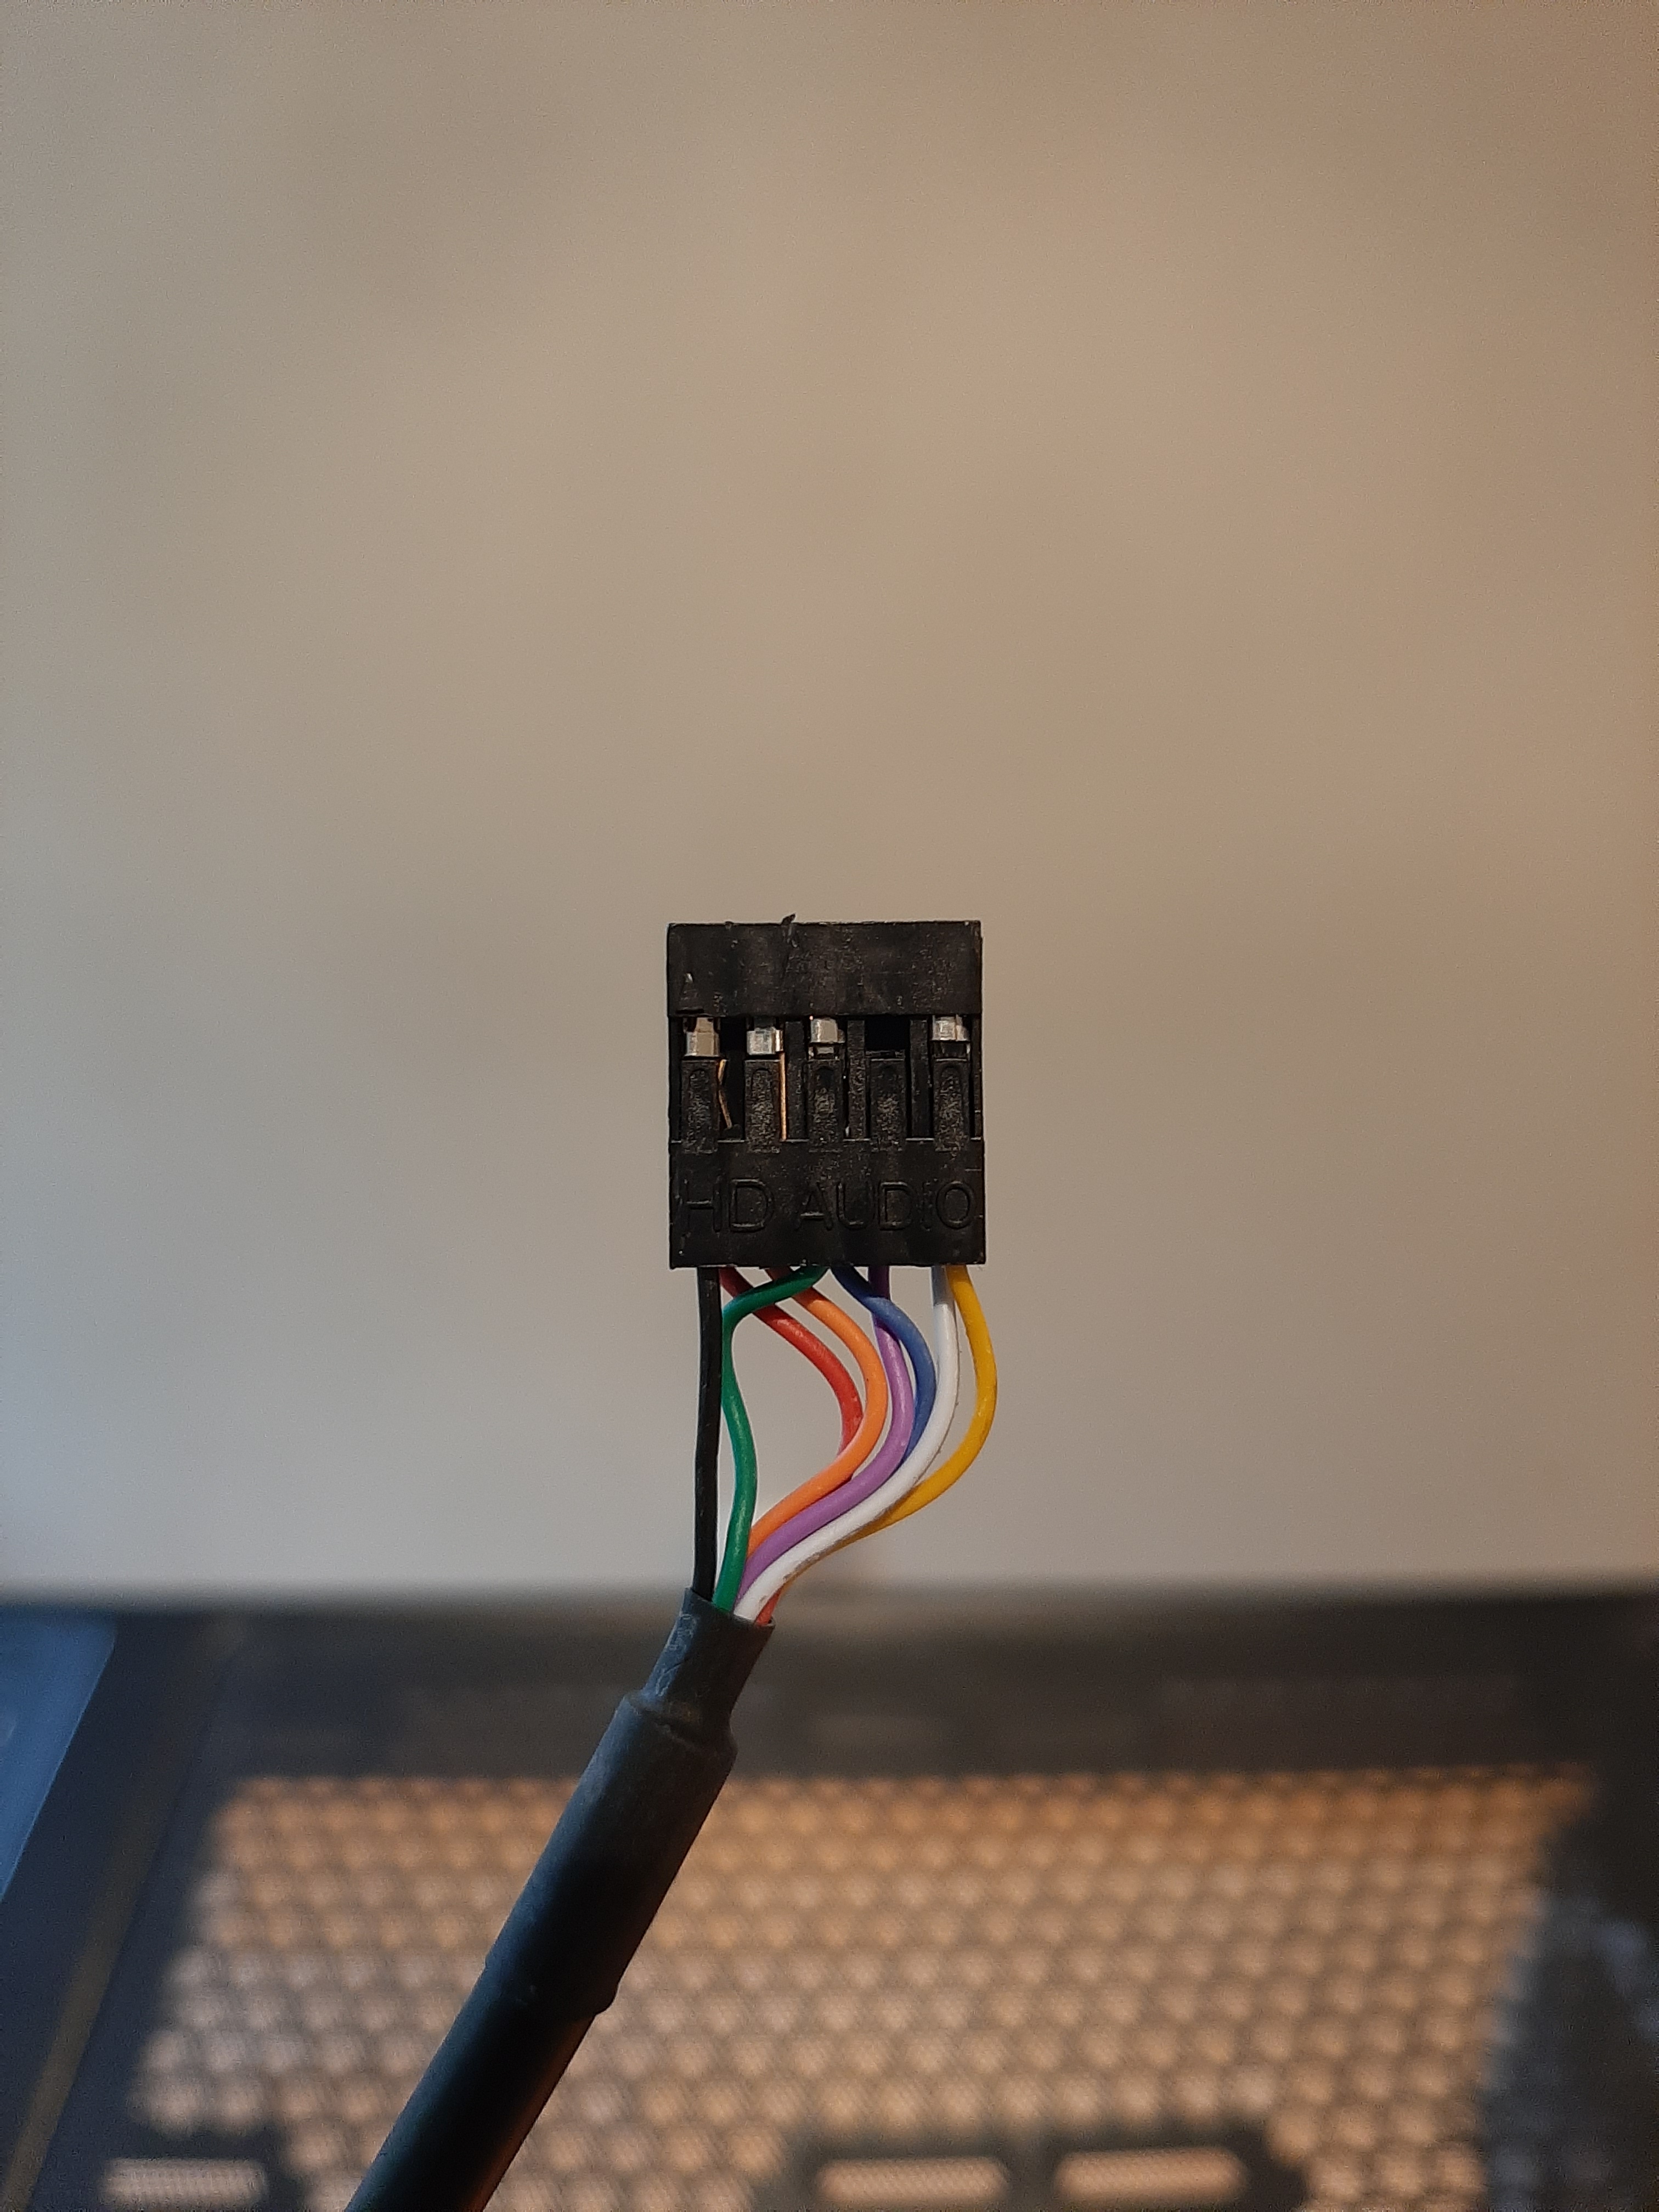
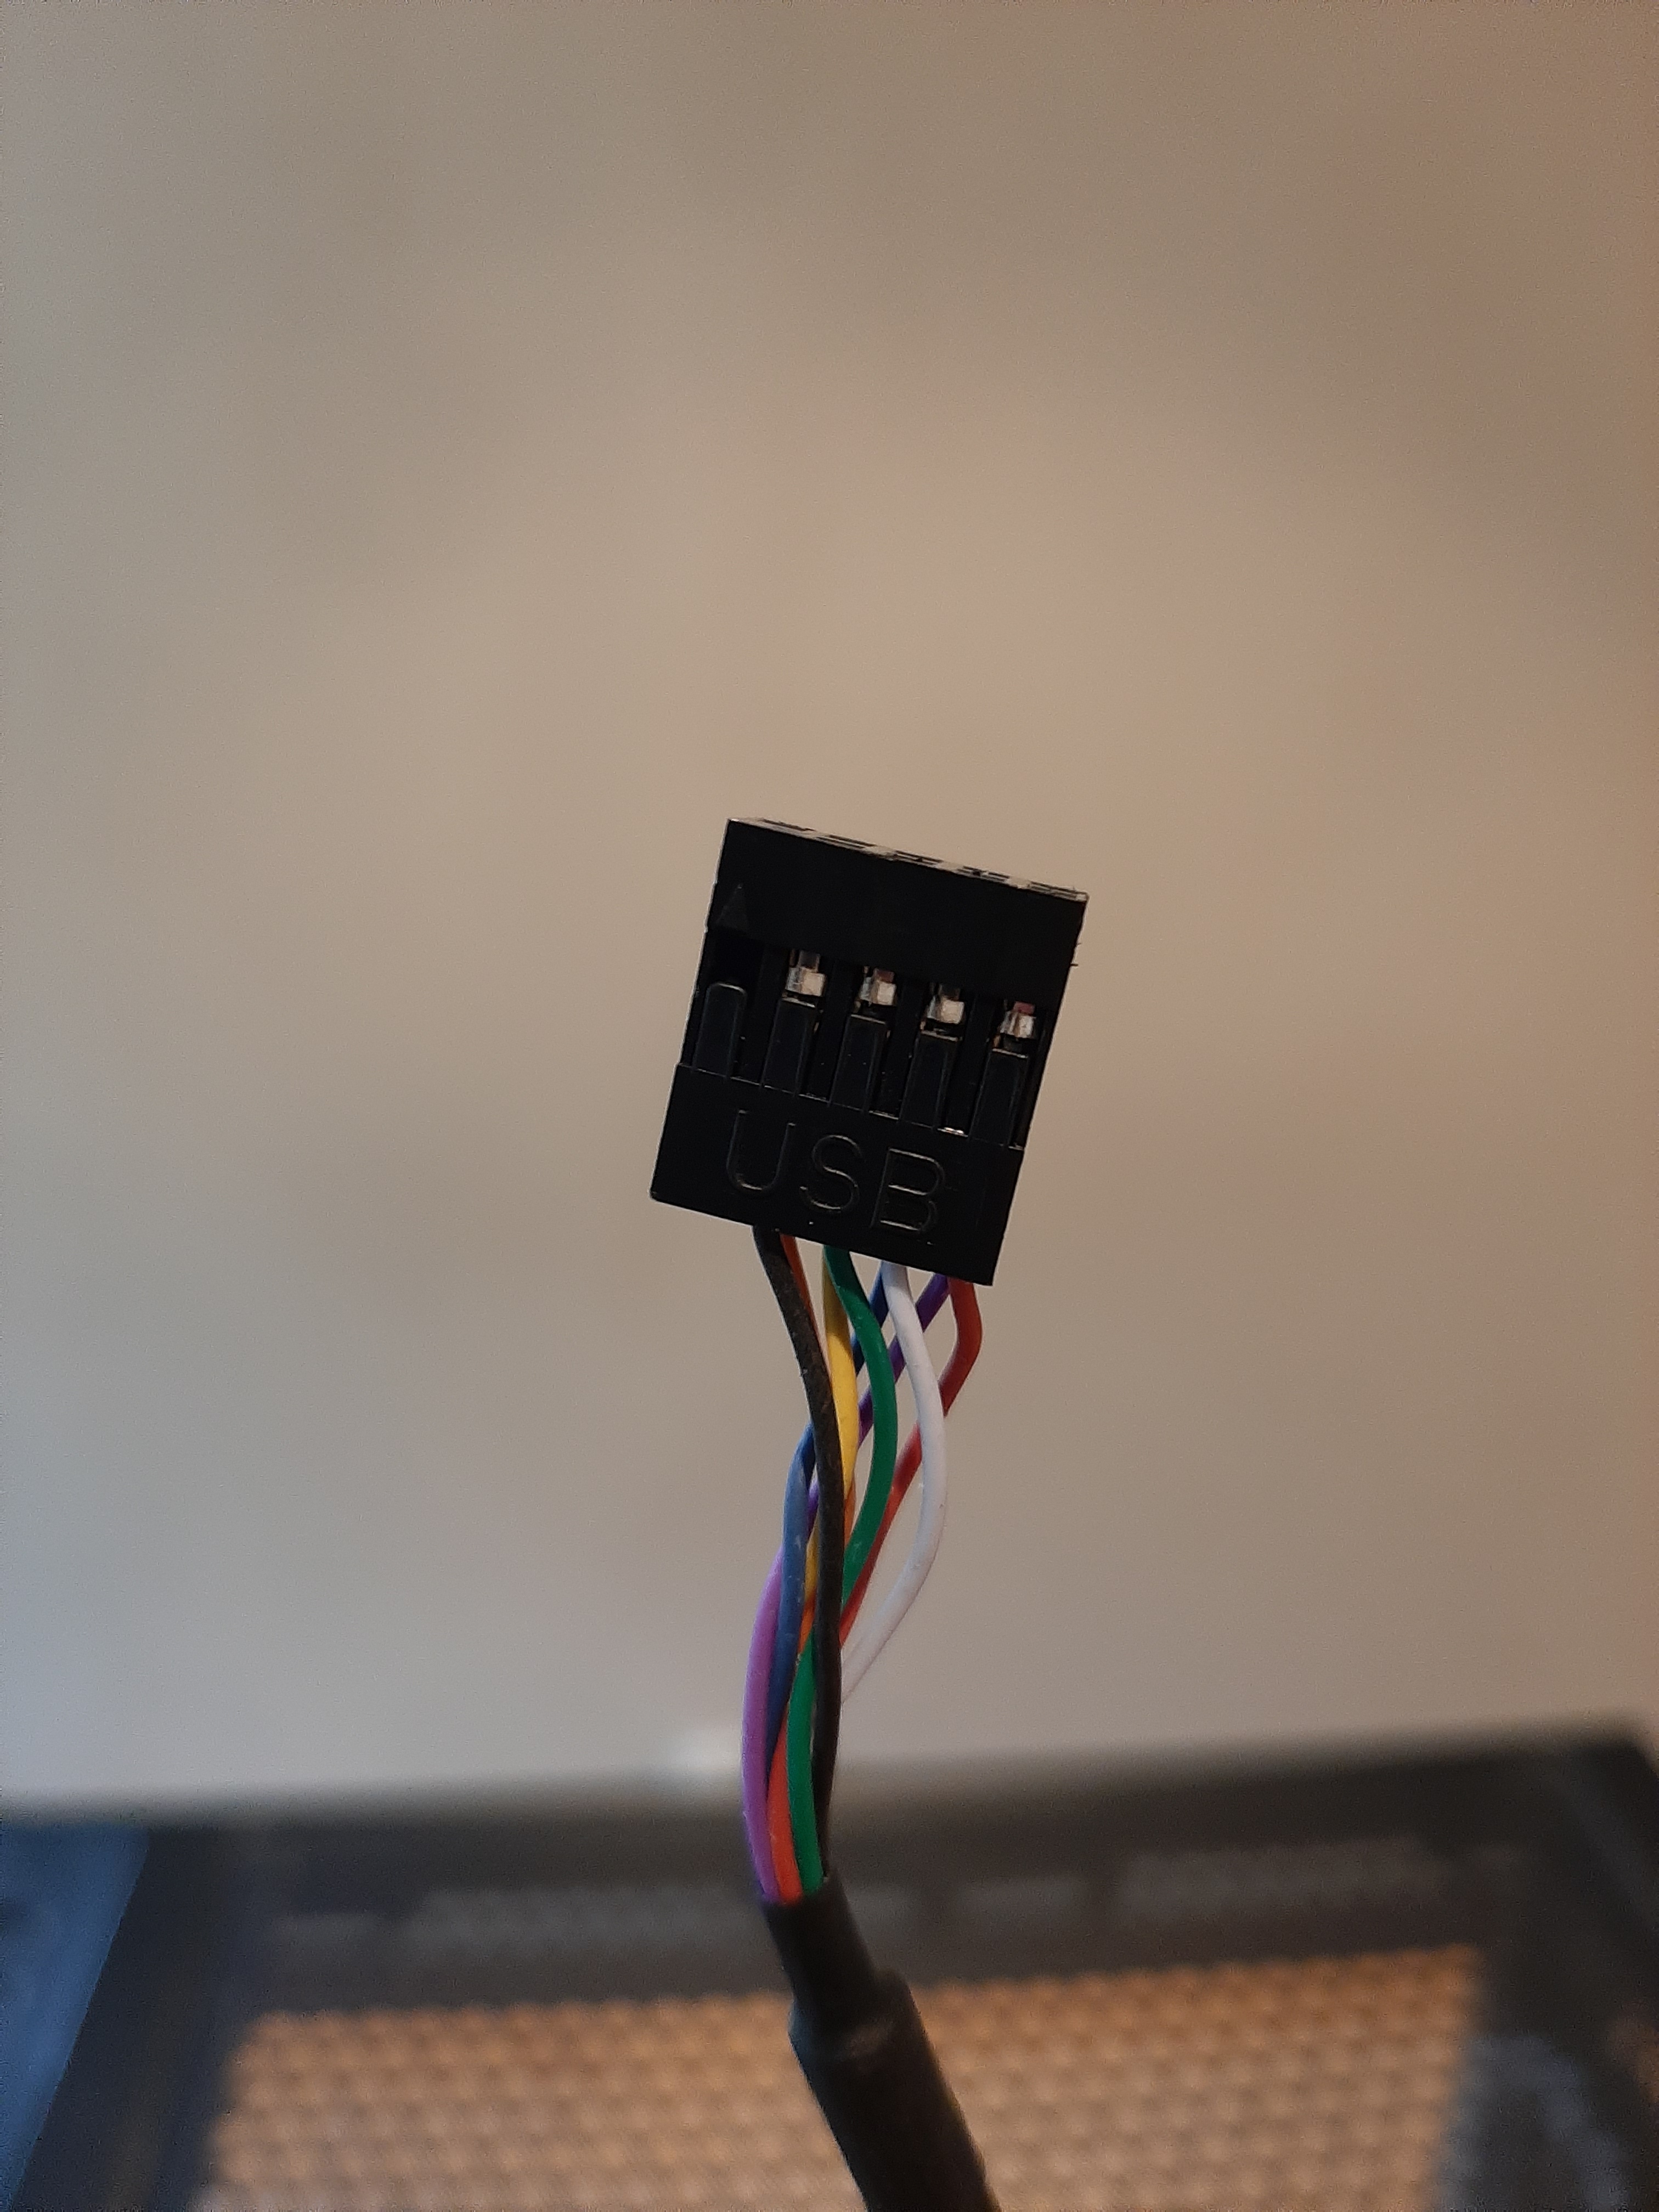
Inside the case there are rubber grommets for the cable cutouts where you route your cables to the motherboard. At the front, we have a mesh panel but if you remove the front mesh grill of the case there is also another dust filter attached to it (I would suggest taking it off for more airflow). The case also has space for water cooling although I opted out for this as I haven’t had any experience on custom water cooling (also it’s too expensive). For IO it has hd audio, usb 2.0, usb 3.0 and your typical power led, reset and power switch connectors.


The build with the case went fairly straightforward. I had done a case swap of our home pc which was an Acer Aspire X3990. The case came with plenty of spare screws and cable ties which is always good especially when doing your first build. Cable management was pretty good as the case had loads of tie down points at the back. I didn’t have to go through the trouble of trying to push down the side panel as the case had plenty of space in the back for bulky cables. I should note that I used some nylon cable ties that I bought from ebay as I had loads of it lying around.

Removable 3.5 inch drive cage at the bottom front part of the case 
Larger psus can fit if you remove the hdd cage 
Plenty space at the back for bulky cables
There’s a cutout for the psu so people can see what through what psu is running your rig (the Antec psu is way overkill for this build btw). I did have to remove the hdd cage for the cables and the psu as it’s length is slightly longer but you probably won’t need to remove the cage if you have a standard sized psu.


Excuse my cable management 


Subtle branding on the psu shroud 

I did find some small issues through a fault of my own as well as ones on the case. I found that the molex to sata connector converter that I used was too bulky for the opening beside the 2.5 inch drive caddies above the psu shroud. So I mounted the ssd at the front part of the case instead. A regular psu sata cable would have fit in there with no issues.
Next, the integrated fan control and led hub had a molex power connector (maybe to cut down on cost) which I hope they will update with a sata power connector on the next iteration of this case. The final issue that I found with the case is that the tempered glass doesn’t sit flush against the case. This is not much of an issue for me but some people may find that a bit of a nuisance.

Standard sata connector should fit well 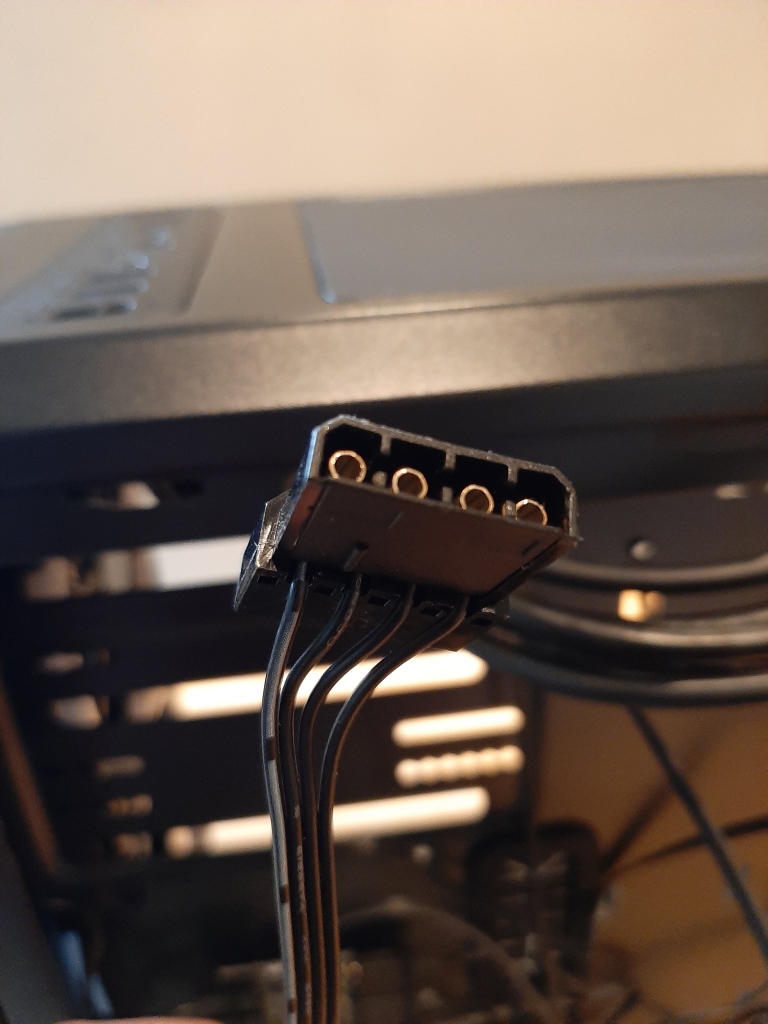
Molex in 2019… 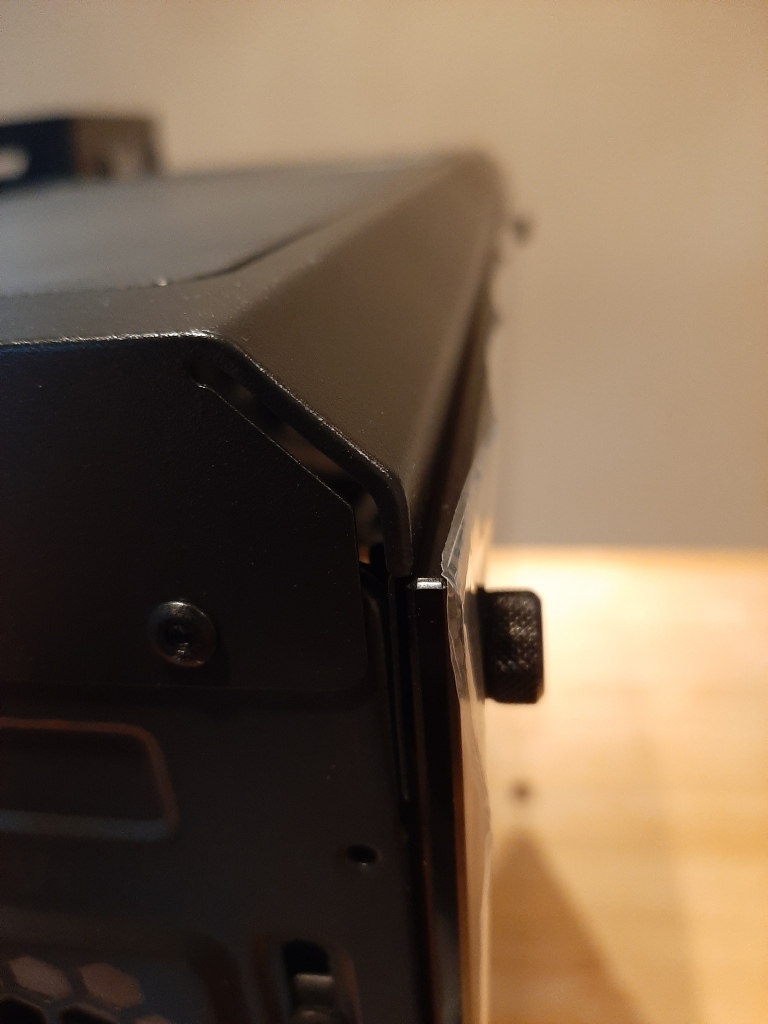
OCD triggered…
Setting the small issues aside, I’m very impressed by how many features were integrated within the case even though it is a smaller micro-atx form factor. I checked over at pc parts picker and there is currently no micro-atx case in the market that has the similar features noted above for the price (the case cost £62.95 on amazon at the time of writing but it would probably be cheaper in other pc component retailers). Overall, I would rate the pc case 4 out of 5 stars. The case may not be perfect, but it offers so much in terms of value for money with the features that you get. Thank you for taking the time to read my review and do let me know in the comments if you have any more questions about the case.

great review!
LikeLiked by 1 person
Just wondering if you managed to get the ARGBs in the case running off the motherboard software, or just off the LED button on the top? Seems to be some confusion as to how it wires to the Mobo and there’s no manual on line to check… does the hub connect via a 5V 3-pin ARGB header or a VDG header?
LikeLike
Hi Allan. Unfortunately I did not have a mobo that had ARGB headers when I tested the case out. I did have a look at the product page for this case: http://www.gamemax.uk/index.php/products/cases/kamikaze-pro-argb-mid-tower/
One of the key features at the bottom of the page notes ‘ARGB Hub – The Kamikaze Pro comes with a hub included and can connect to 6 3pin fans and comes with an AURA connection.’
So I think the one 5v ARGB header coming off the hub is the one you connect to your mobo.
LikeLike